- Go to the Summary Tab of your property. Need help getting to the Summary tab? Click here for detailed instructions.
- On the left hand side, click the grey tab labeled "Photos."

- Click "Edit" on the image that needs to be cropped.
Note: Double clicking the image will also bring up the image editing tools.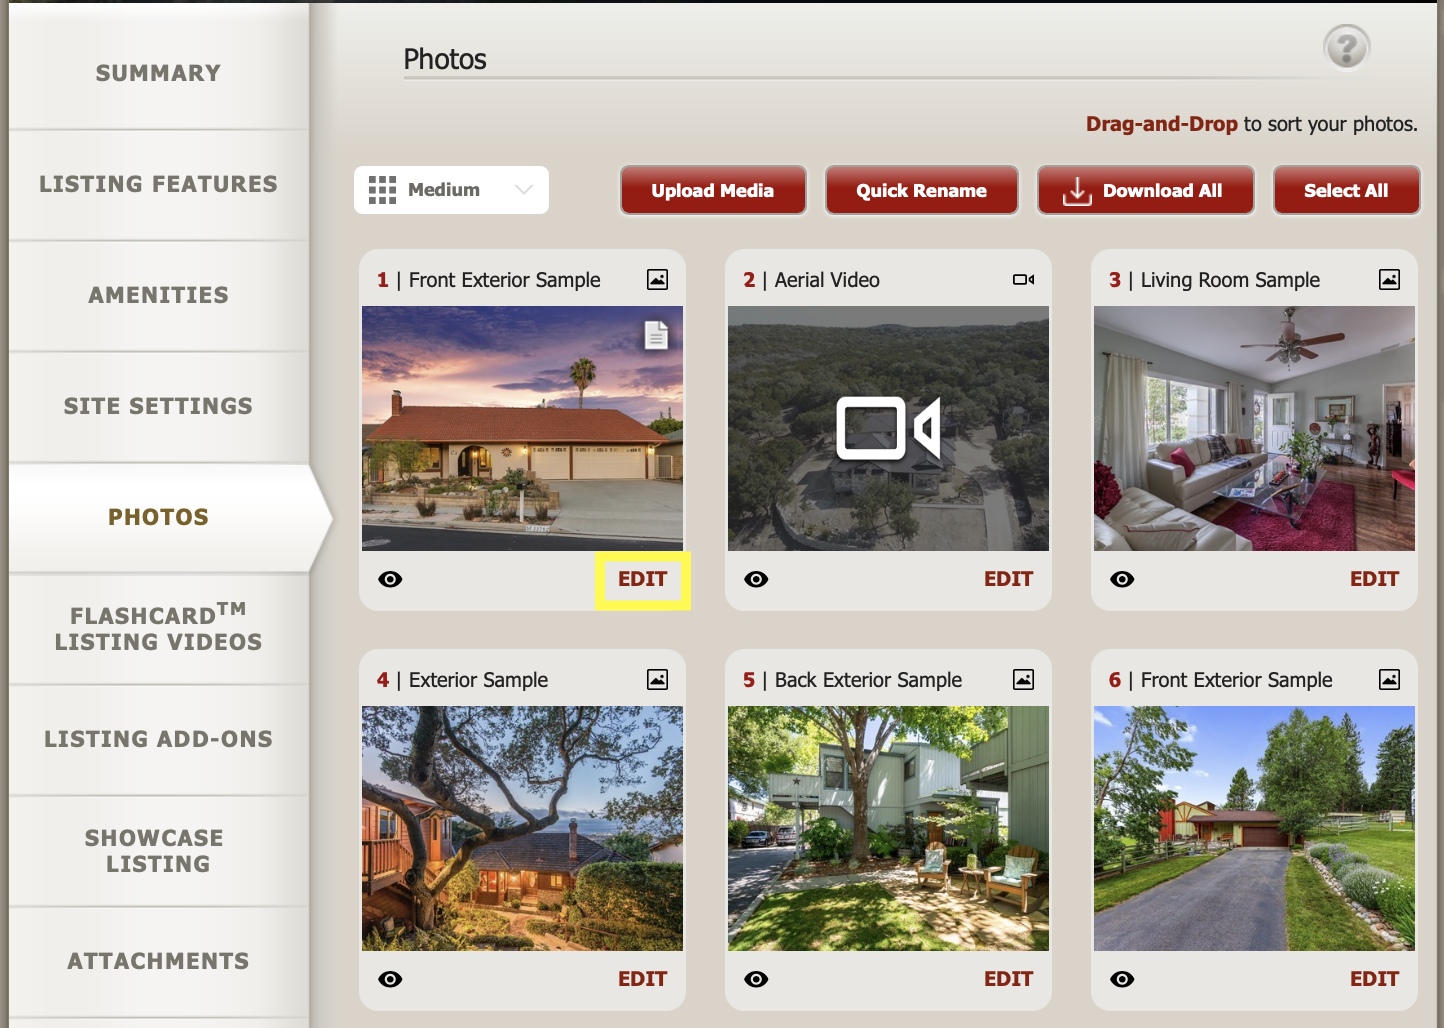
- Click the red "Edit Photo" button.
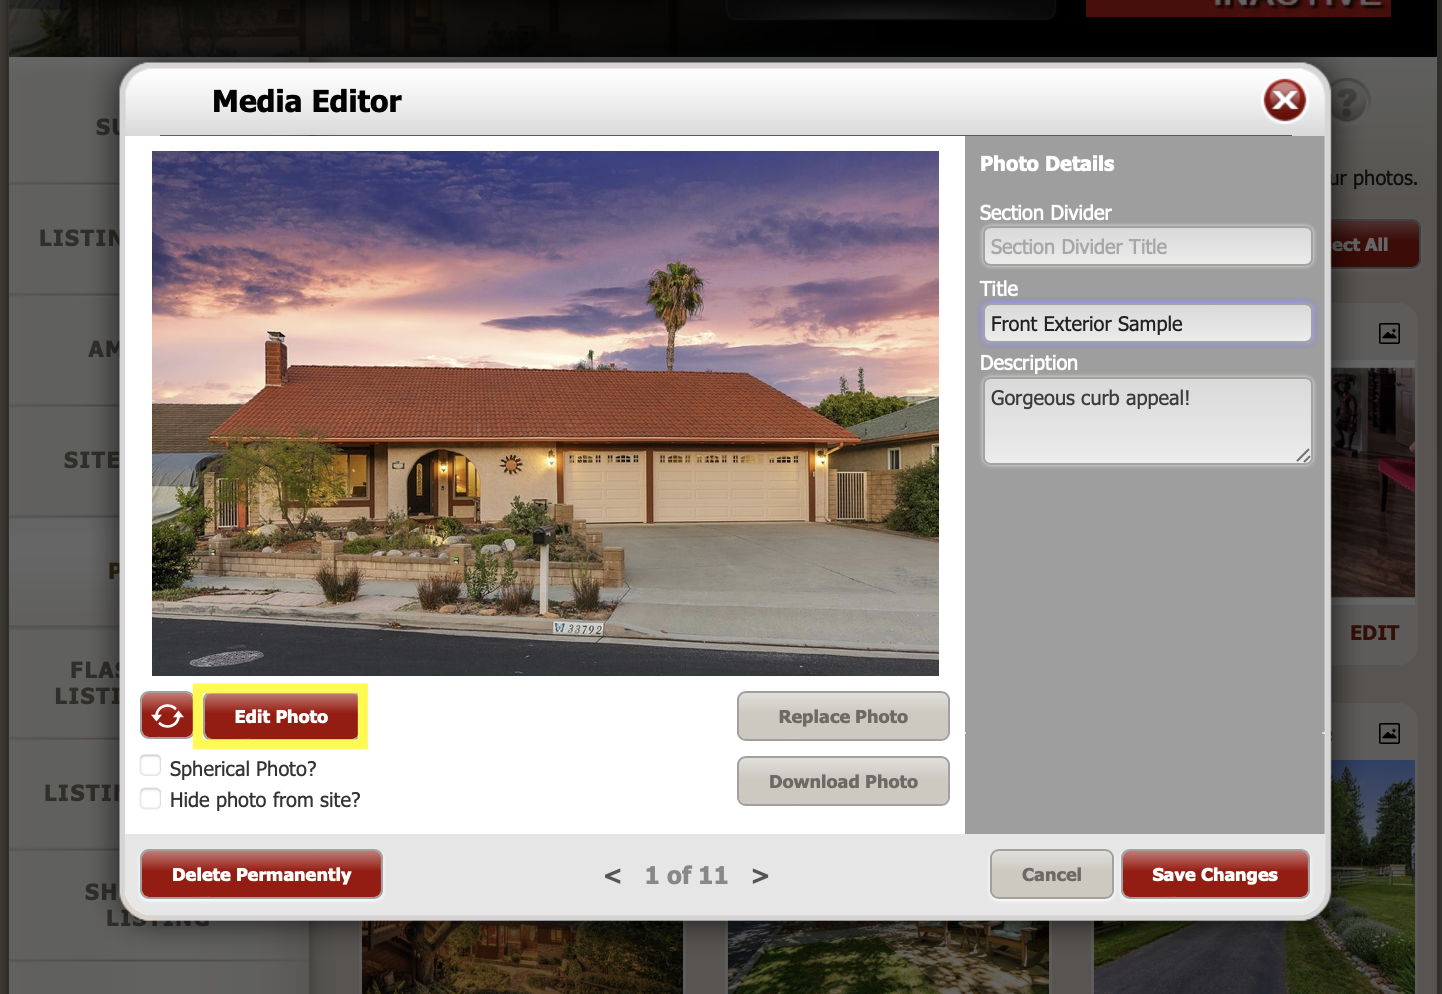
- This will open your photo in a new photo editor window. The crop tool should be selected on the left side of the page by default.
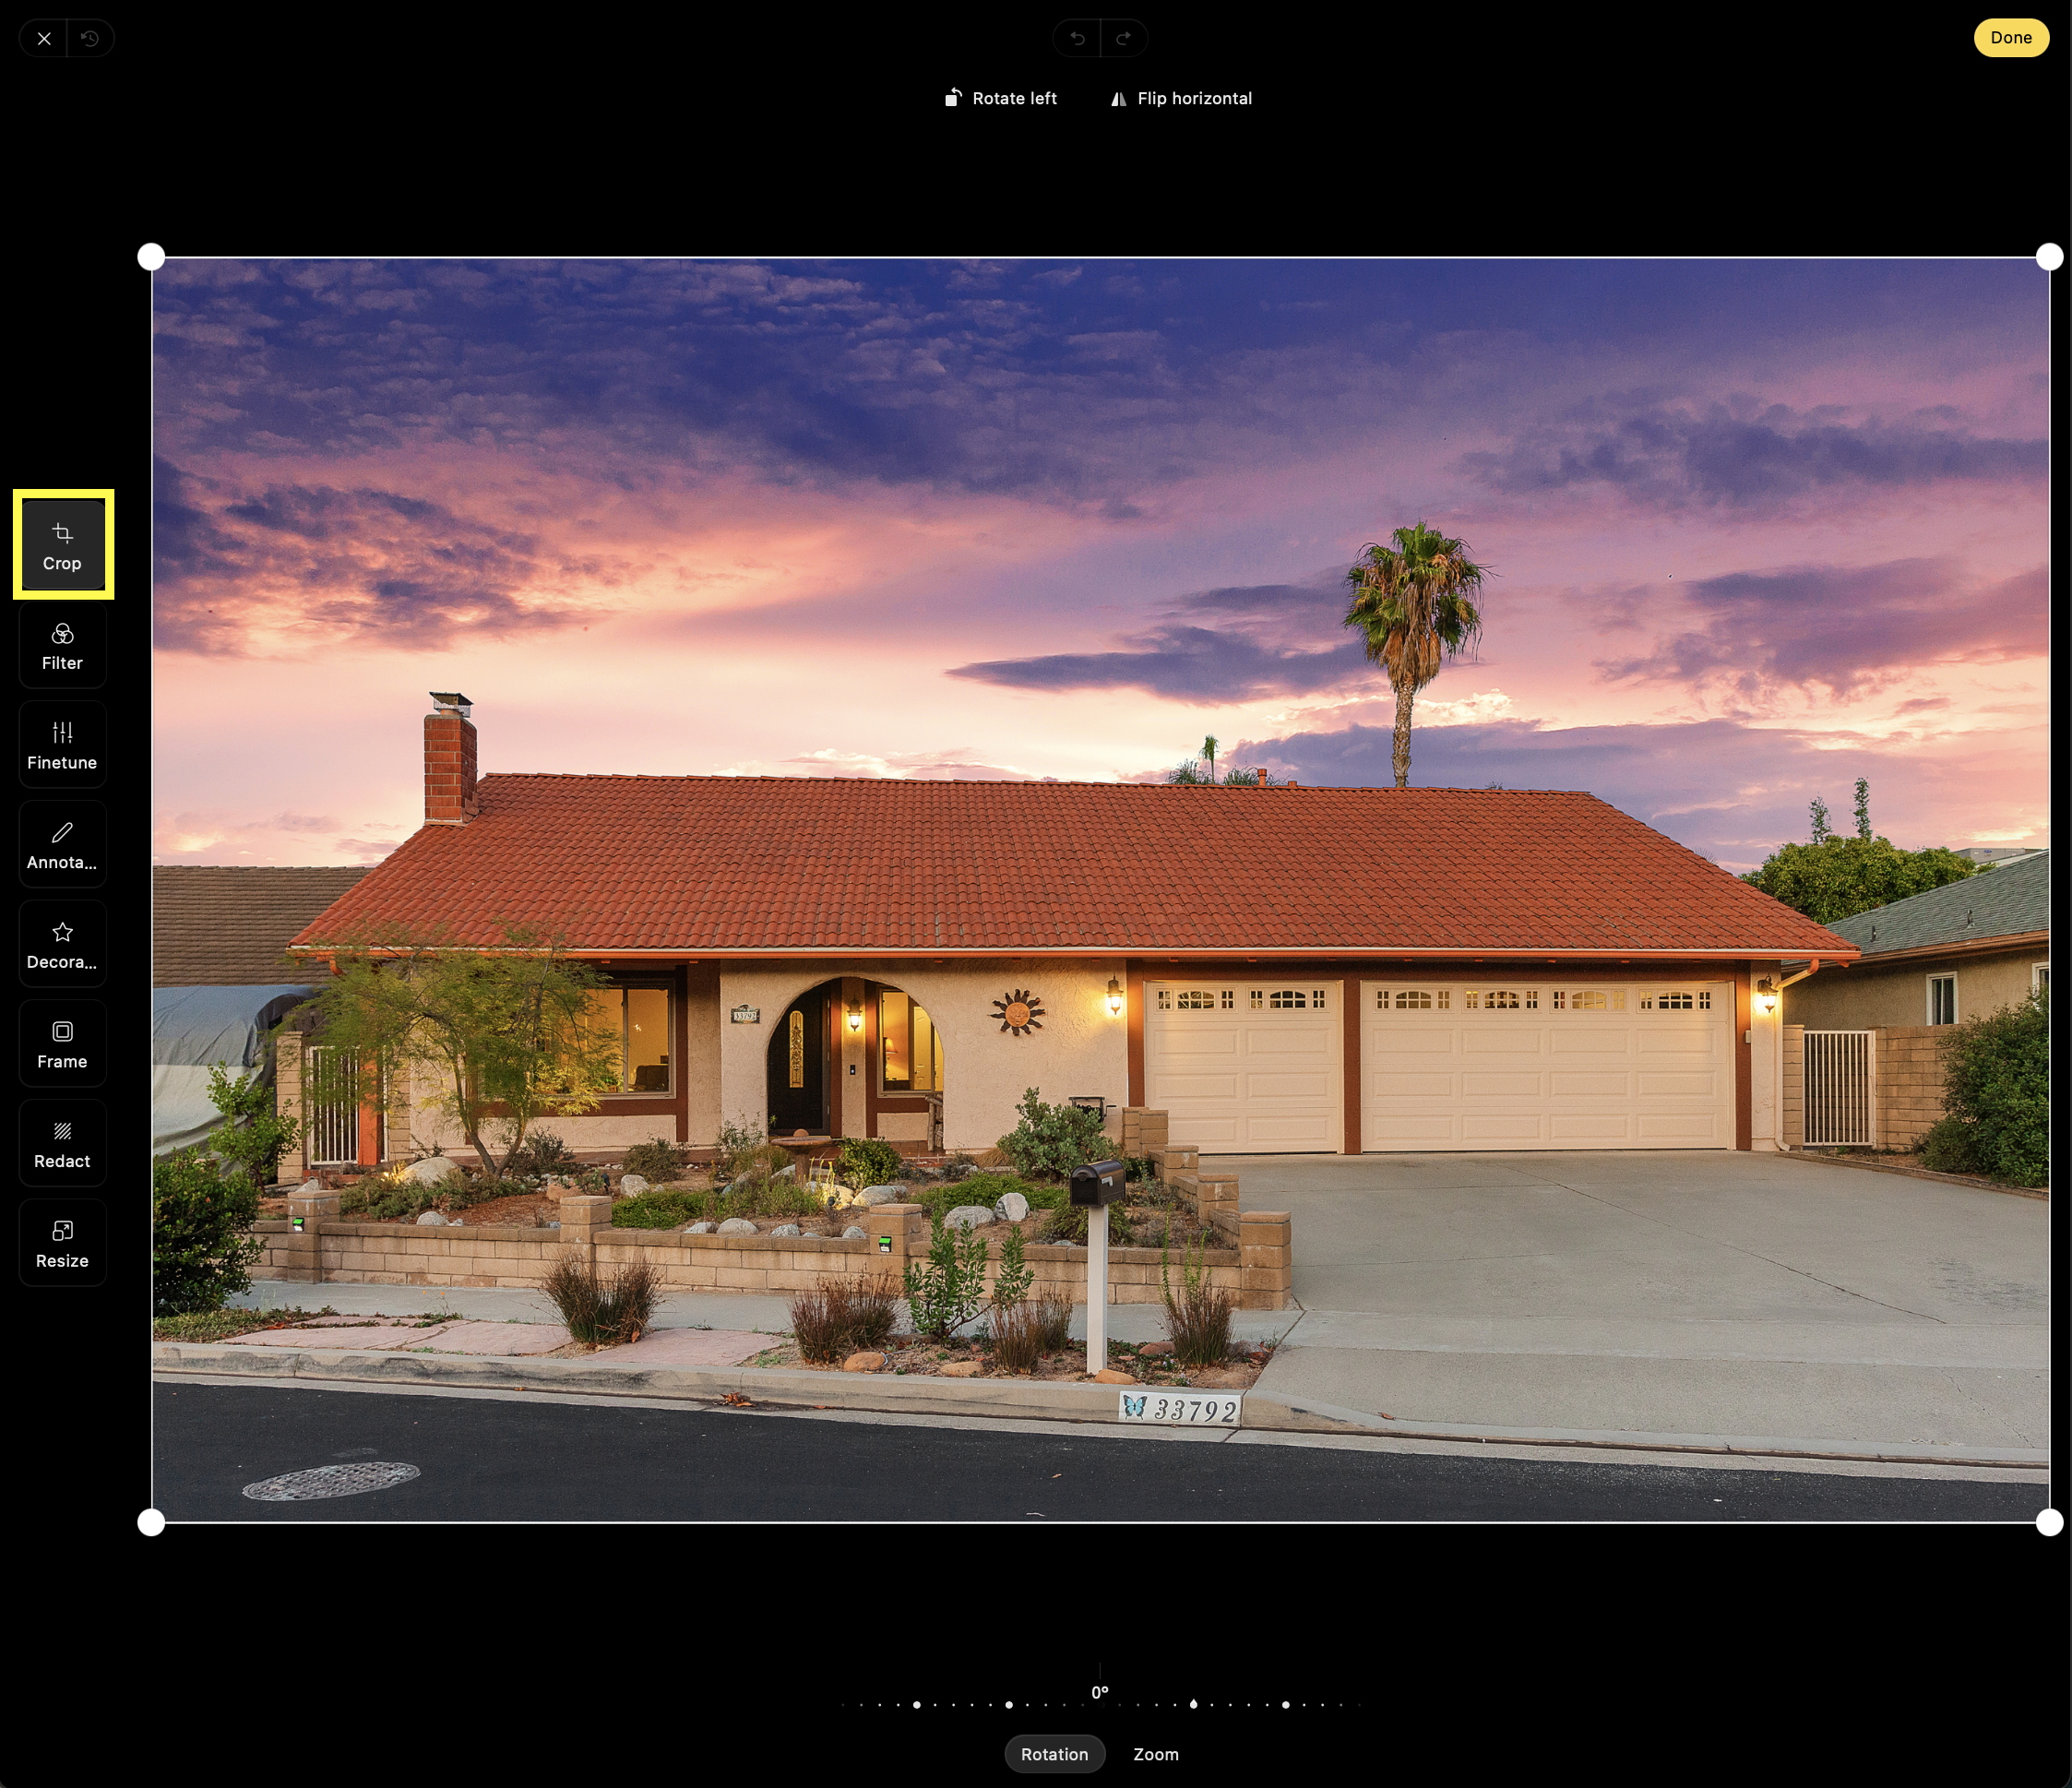
- Drag the corners of the photo around until the cropping is set properly. Click the yellow "Done" button when your photo cropping is set.

- "Are you sure you want to permanently update this photograph" will appear on screen. Proceed with your edit by clicking "OK."
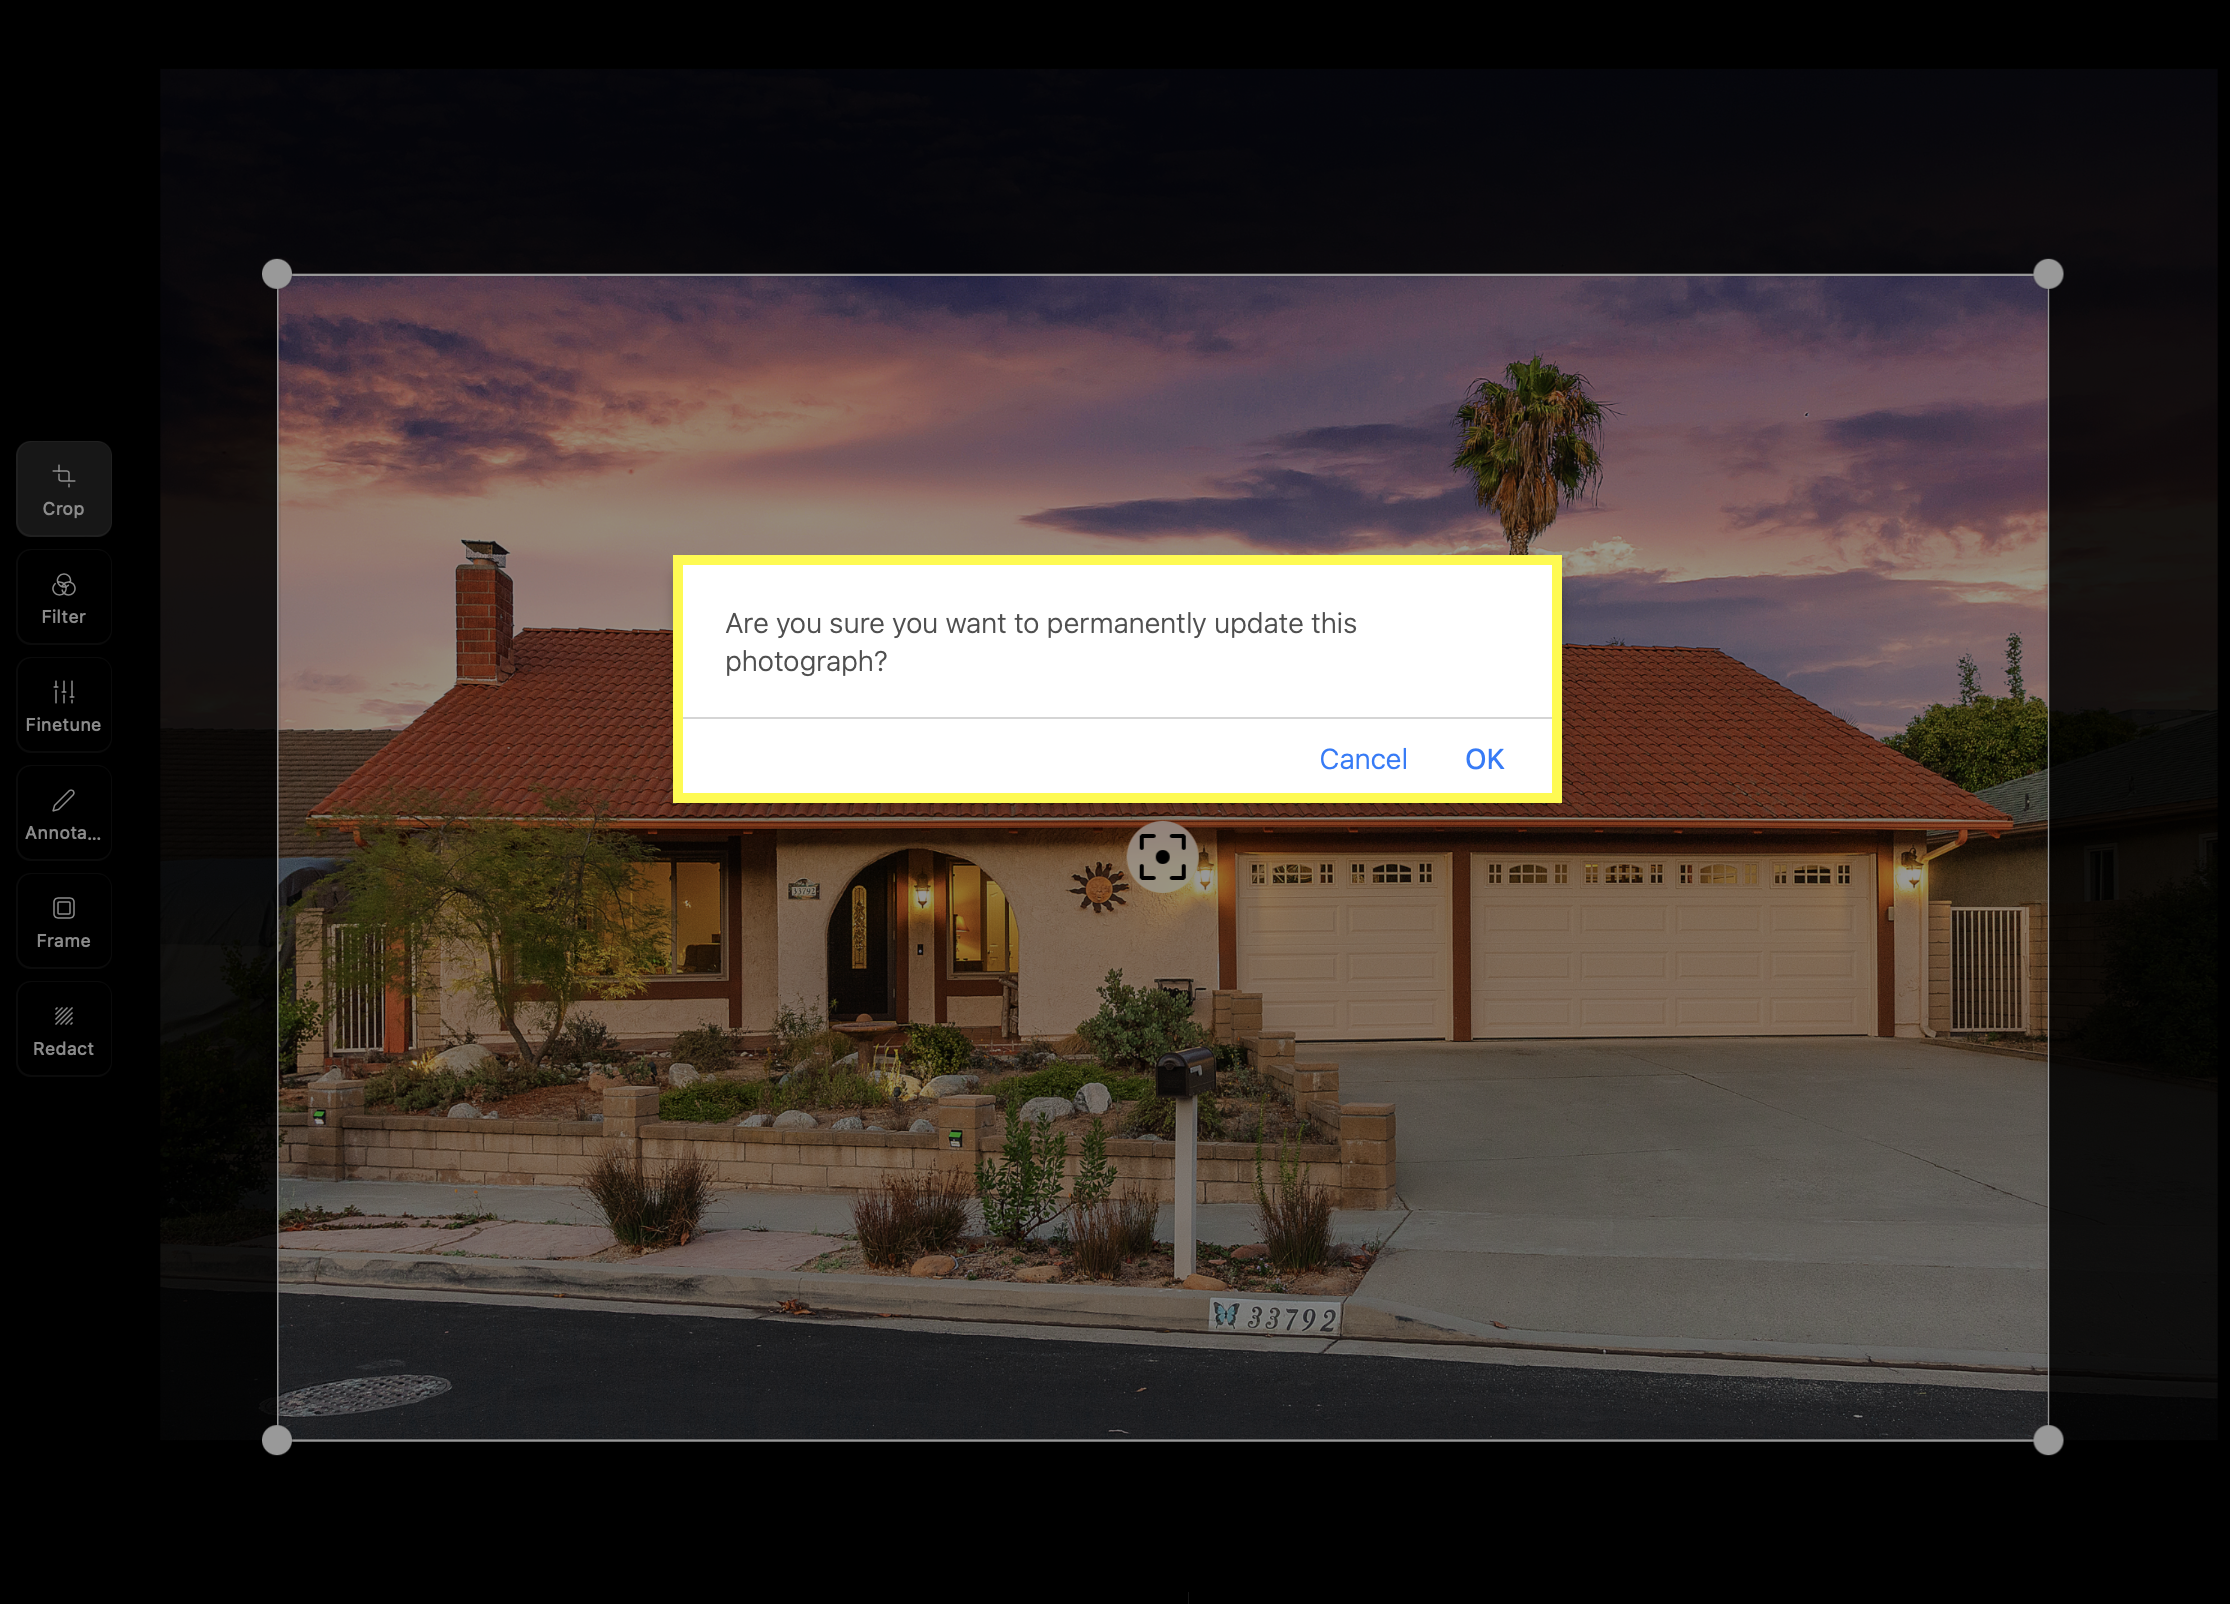
Note: Clicking "OK" will permanently edit your photo. This change can not be reverted after this step has been completed. - Your photo will briefly show "processing" followed by "uploading."
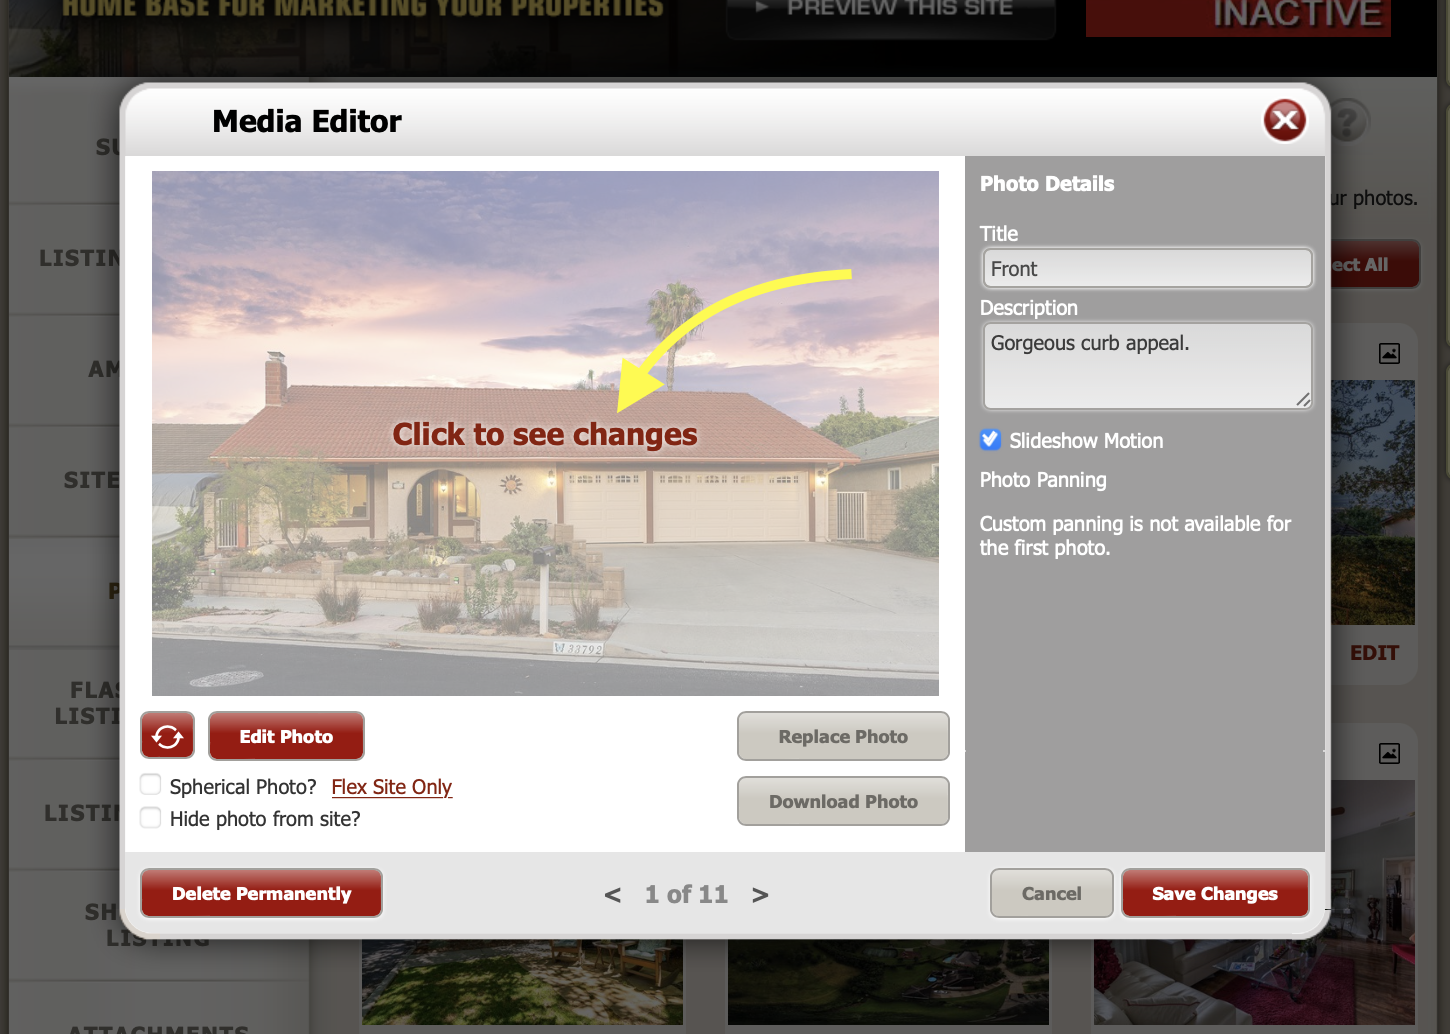
- Click anywhere on the photo preview to update the changes that were made in the photo editor.
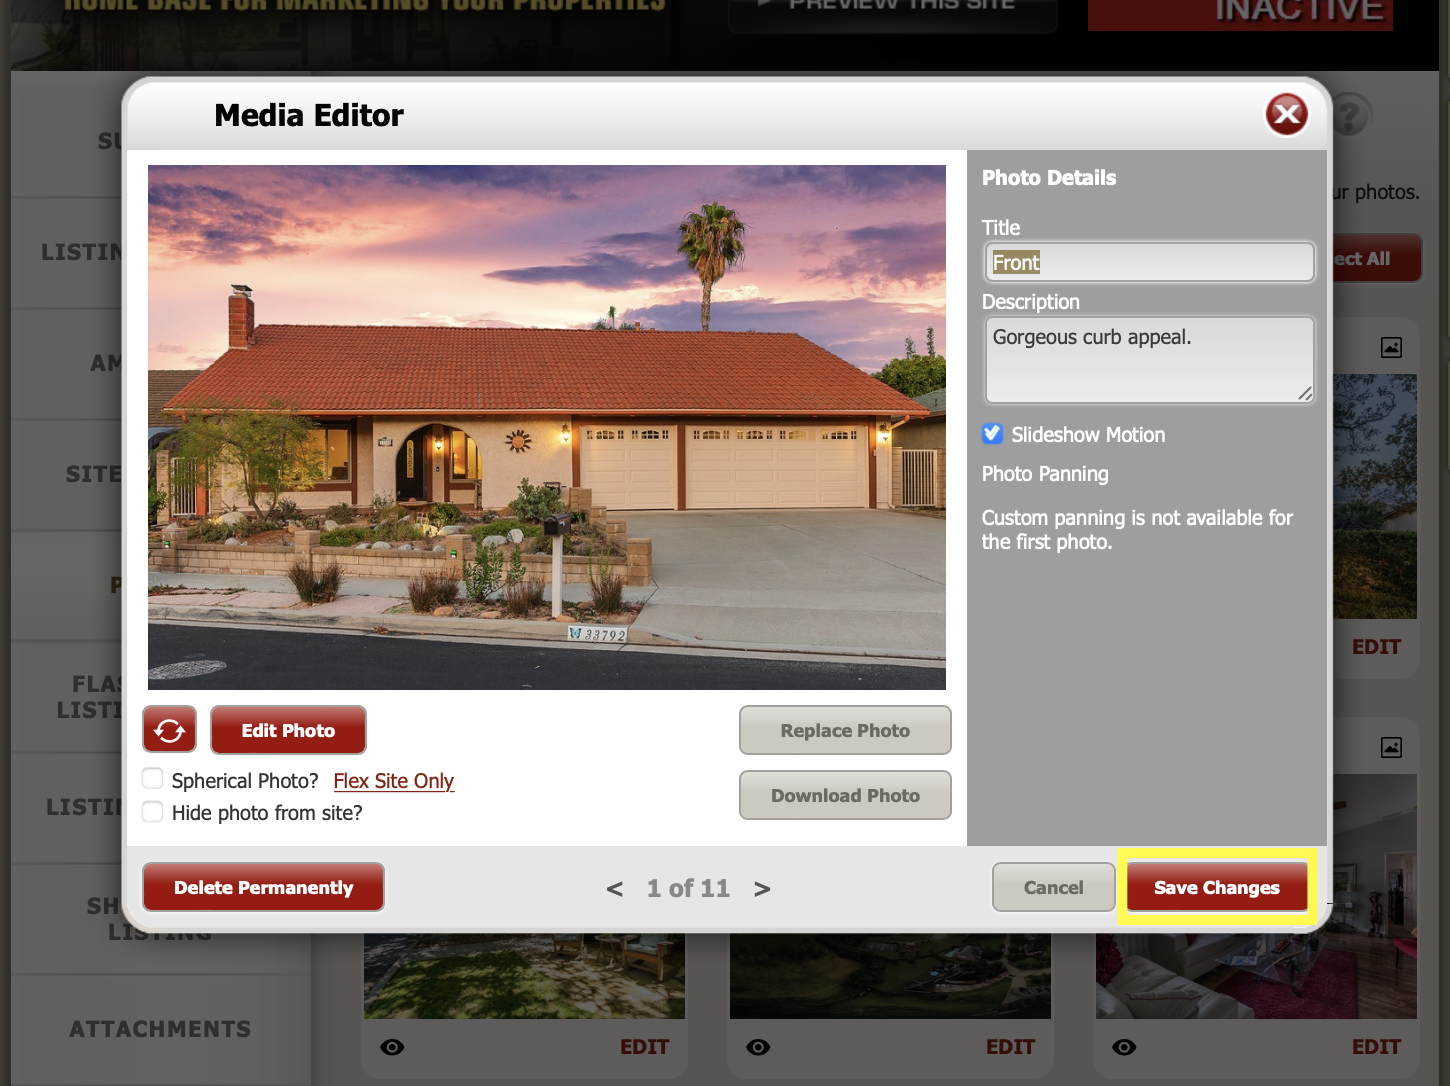
- Click the red "Save Changes" button to finalize changes and return to the Photos tab of your listing.
For additional assistance, contact us at 888-458-3943 coaching@tourfactory.com